Interactive HDR Creation
You can access the wizard that will guide you through the process of creating a new HDR image via the File > New HDR image... menu item.
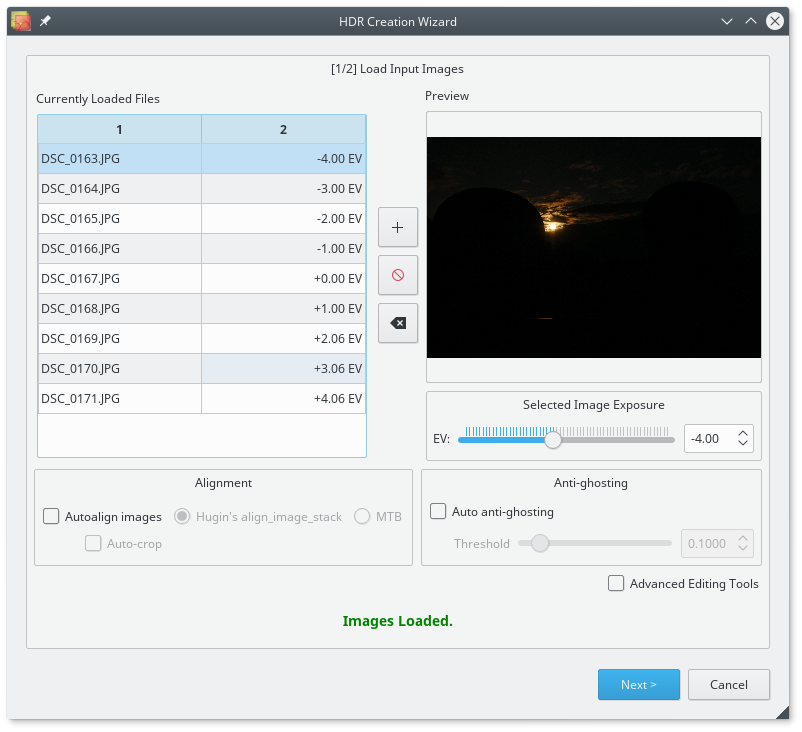
On the first page the wizard will ask you to select the set of images (of the same scene, but taken at different exposures) that are going to contribute to the final hdr (supported input: jpeg, raw and tiff -8 and 16 bit-).
Even if Luminance HDR doesn’t find the required Exif data (Shutter Speed & Aperture) in your image set you can still proceed creating an HDR. To do so you have to insert manually the EV (exposure values) or stop difference values for the images in your the set.
The first page of the wizard enables the user to apply an automatic alignment step to the images in the set. It is possible to use one of two alignment options (or “engines”): align_image_stack and MTB.
The first option is usually a good choice (MTB works only on LDR images and has a simpler model that does not take into account rotation).
If your image set consists of LDR images (JPEG, 8 bit TIFF, or RAW files) you can optionally open the Editing Tools Dialog clicking on the Advanced Editing Tools check box and clicking Next. A dialog will then show up which can be used to perform some “pre merging” editing activities as well manual anti ghosting.